Table of Contents
Preparing source files
Drag and drop source files directly from finder. Audiobook Wizard supports multiple file formats including mp3 and aac encoded source files (with m4a or aac extension), wave files as well as mp4 and 3gp encoded video files (only audio will be extracted).
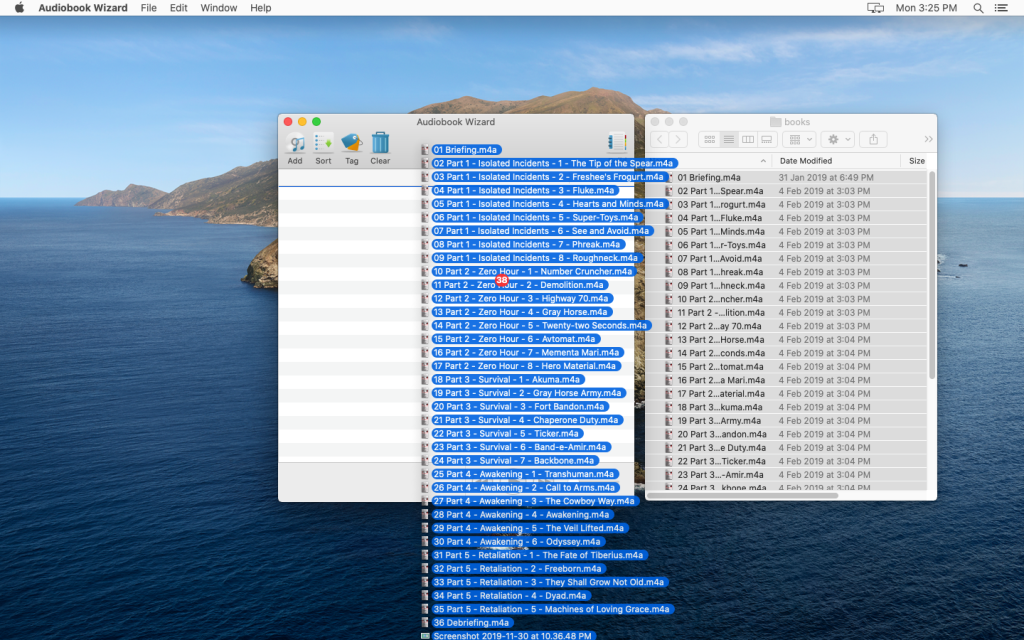
You can also drag and drop from iTunes directly if source files have been added to iTunes. It is possible to drag from almost anywhere e.g. playlist, artists, albums section etc.
Of course, it is possible to add files by clicking on the Add toolbar icon or using the File | Add items menu. But less convenient.
Re-arranging things
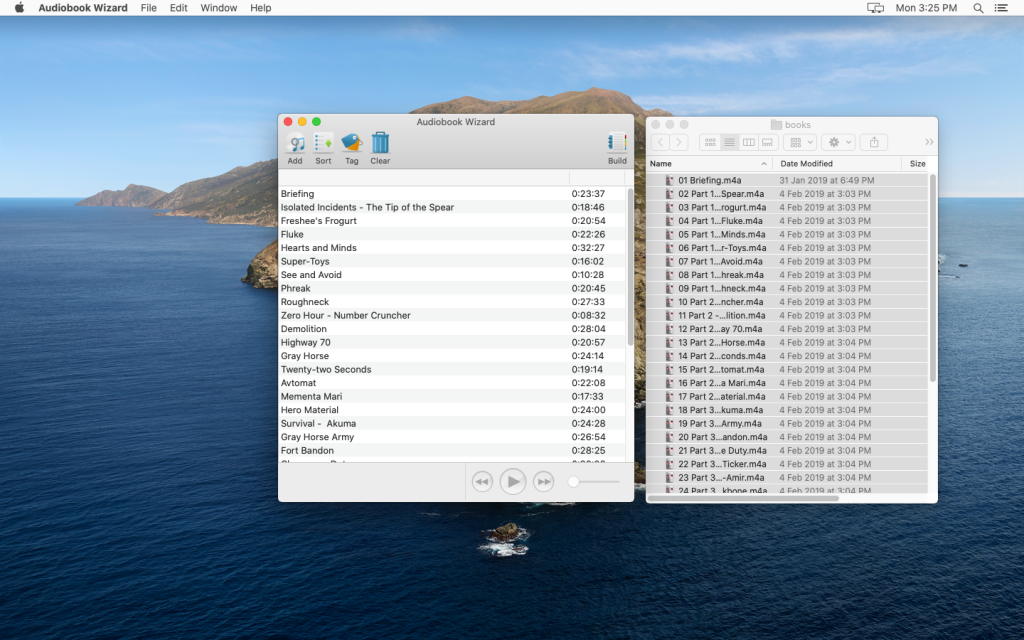
Files can be sorted in ascending or descending order by clicking on the Sort toolbar icon. You can also sort manually by selecting one or more rows and drag them to a new insertion point in the list. Personally I find this too difficult as any typical audio book ripped from CD is going to generate a ton of mp3 or aac files. Best if you could have your ripper name these files in proper naming order e.g. “track# – chapter name” etc. Audiobook Wizard sorts according to file name NOT track title.
To remove individual file, select the correct row and hit command-backspace. To clear entire list and start over, click the clear toolbar icon. Select any row and click the play button if you want to listen to a preview.
To change chapter names, double click on any row and edit as you wish.
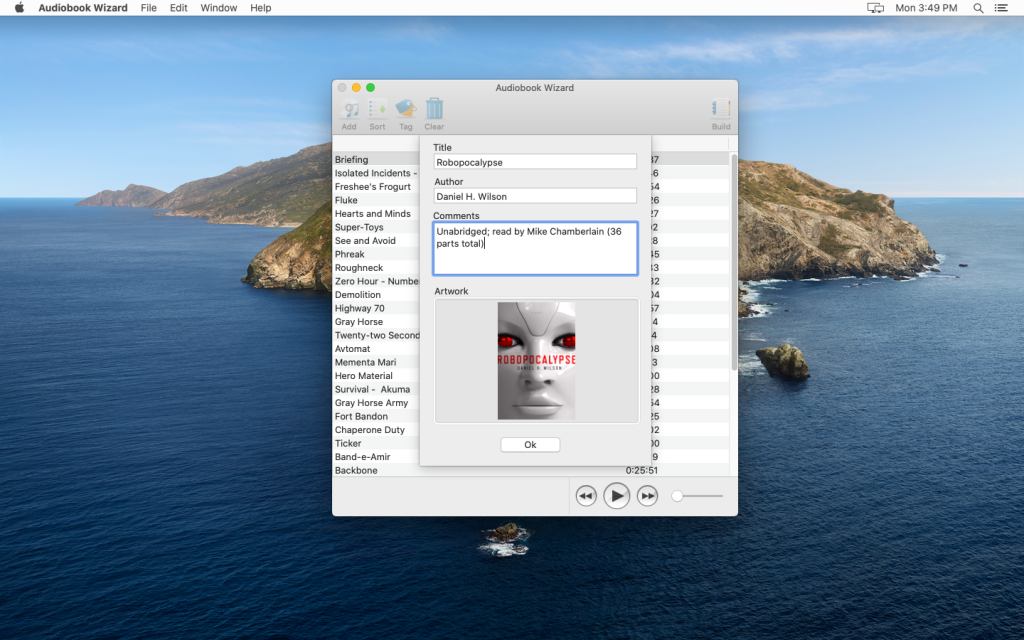
iTunes friendly tags
Audiobook Wizard automatically uses metadata tags that already exist in the source file e.g. book title, author, artwork etc. If your source files do not come with any metadata, you can choose to provide metadata tags for your audiobook by clicking on the tag toolbar icon. You can provide as much or as little information as you want. In fact, it is ok not to provide tags at all. Most times, auto tagging works as expected and the tag window will already be populated. Click OK when done.
Build options
Now we are ready to build the audiobook. Click on the build toolbar icon to get started. If you did provide a title in the tag window, that title will be presented as the book title choice. If not, you will need to provide a book title. This will be use as the file name as well as the title metadata.
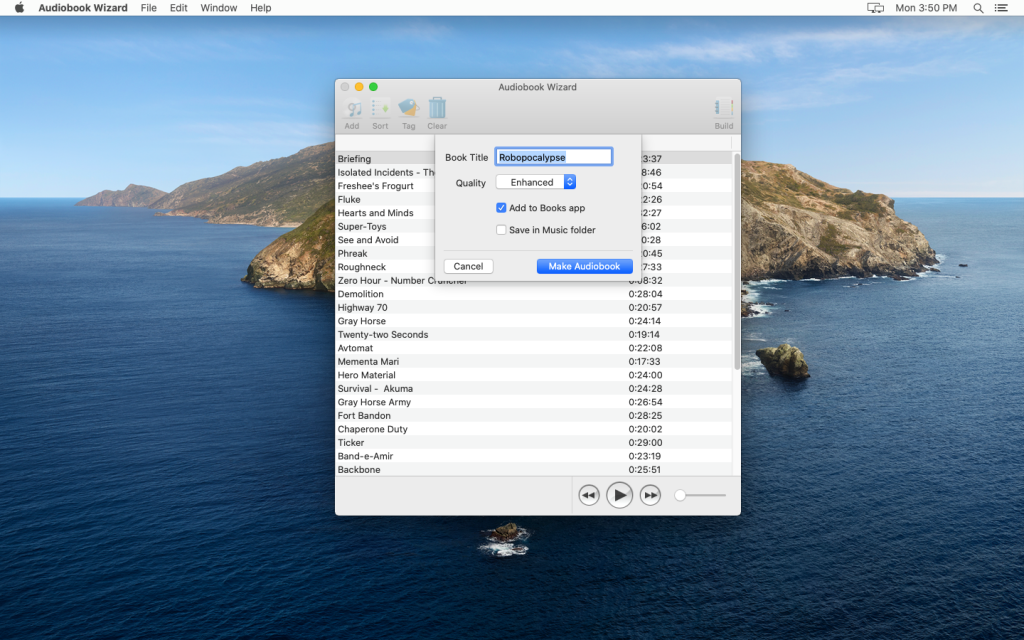
Two other options are provided. By default, Audiobook Wizard will add the finished book to Books app (or to iTunes if you are not yet on macOS Catalina). You may turn this off if you are planning on using other third party audiobook apps. In which case, please see the following option.
The final option is to save a copy of the finished book to a folder. This is usually needed if you would like to have access to the audiobook file itself e.g to import the audiobook into third party apps. This is necessary as the Books app store the imported book in a hard to get at location.
If you decide to turn this on, remember the final output file is located in ~/Music/Audiobook Wizard. Please read section on encoding quality below before proceeding.
There is an issue in Books app which may cause confusion. If a book by the same title already exist in books, the new book will NOT be added! Please delete the book by same title from the books app before building one with same title. This may happen as you are experimenting with building the same book many times.
On encoding quality
The default encoding quality is enhanced. You can choose CD Quality, Enhanced or Standard quality. CD Quality is encoded at rate of 128kbps in stereo mode. Use this option if you have an unusual use case e.g. music mash ups, audio dramatization in stereo e.g. graphic audio series, stereo podcast etc. For most books, Enhanced encoding at 64kbps in mono is suitable. Enhanced mode is about equivalent to Audible’s enhanced mode. Standard mode is encoded in mono at 48kbps.
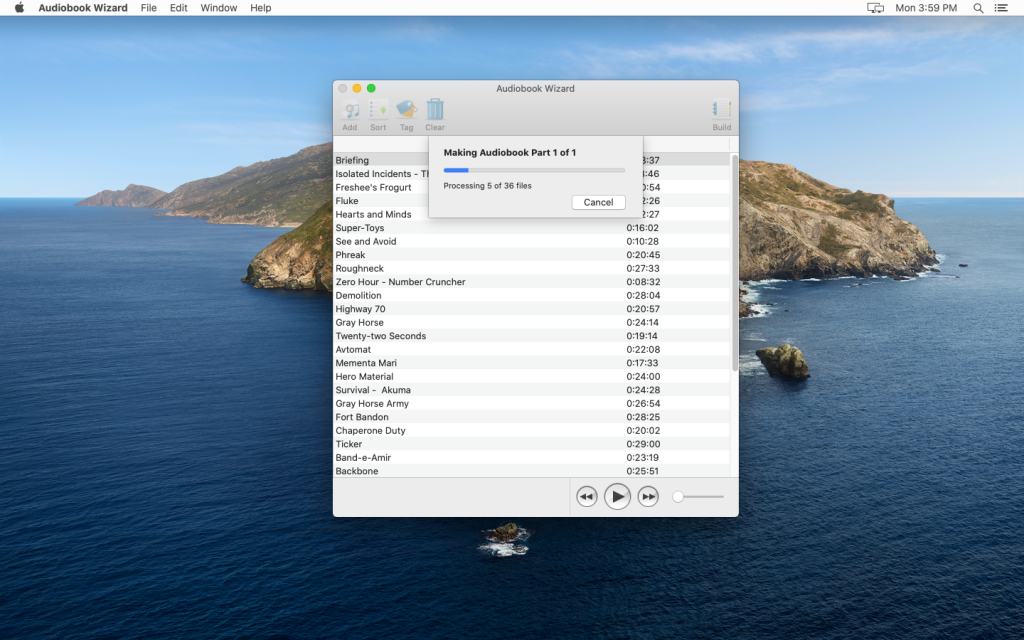
Let’s build this thing!
Click on the “Make Audiobook” button when ready. Encoding should proceed and may take a while depending on size of book. It is usually done in a few minutes for most books. If the source file is one or several large files e.g. 800MB mp3 file, you may think the progress is stucked at “Processing 0 of 3” files or something. Don’t worry, it is just taking longer to process such a big file.
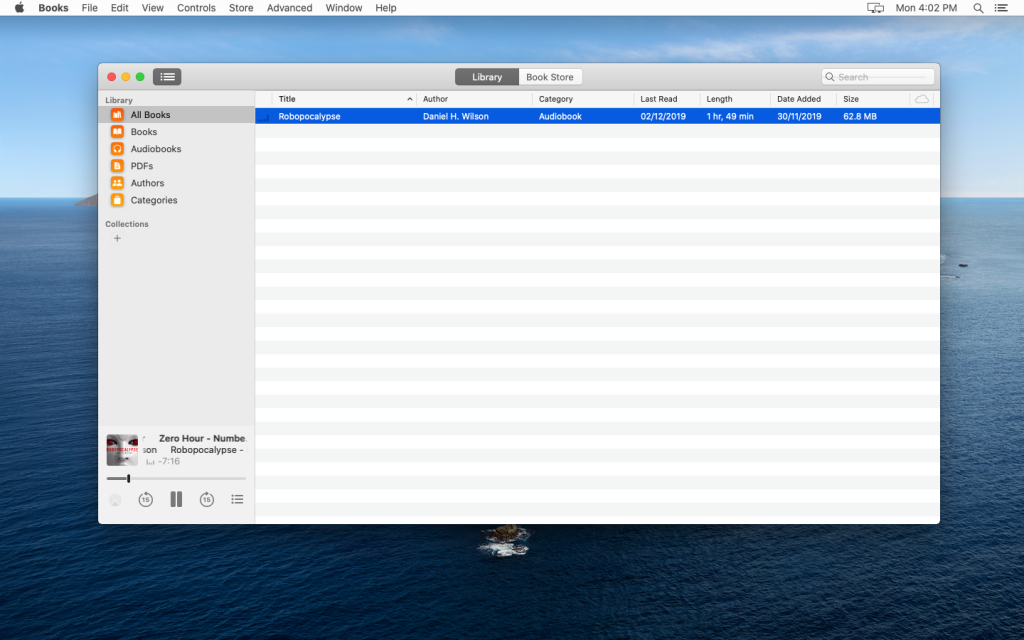
Your book in Books app
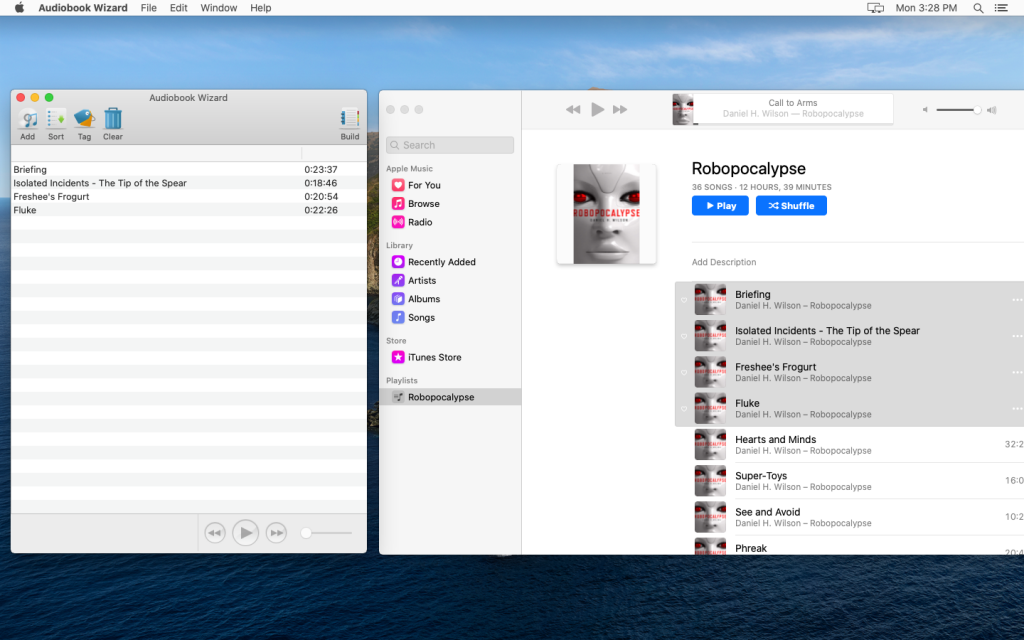
If you chose to add the book to Books app (or iTunes), the app will open at the end of the process presenting your book. Otherwise, you will need to open the Music folder and manage these files yourself. If not already added, you can add the books to Books or iTunes library by double clicking the file. This is what it looks like in Books app.